Step 3) Etching
Go to an open place wear some old clothes gloves and your safety mask and you are ready to go.
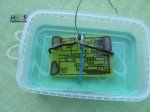
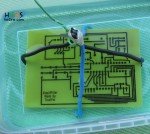
Make a hanger tool using the wire like the picture below

Open carefully your etching solution and put it on a plastic tank.

Now immerse your copper board with the use of the hanger tool.
Move up and down the hanger tool every 2-3 minutes with care like the tea infuser.
The etching procedure can last from 20min up to an hour. Keep an eye every 5 minutes
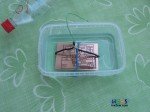

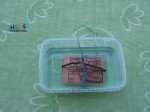
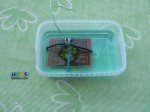
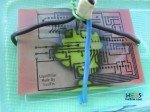


Once you have finished you have to wash your board with water and store your etching solution into the plastic bottle using a funnel.
Now we are ready to drill and solder...
Pingback: Printer Upgrade Kit (Sharp AL11PK) (COPIERACC AL11PK) | PRINTER REVIEWS