It is time to download the physdiskwrite from the m0n0wall web site.
Create a new folder at "C:" with name "pfsense"
Now put the pfSense-2.X.X-RELEASE-4g-i386-nanobsd.img.gz and the physdiskwrite.exe files to the C:\pfsense folder.
Open a command prompt with administration rights.
Start -> Run -> cmd (right click run as adsministrator) and write :
cd C:\pfSense
Make sure your CF card is not attached to your computer, then run :
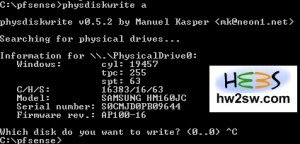
physdiskwrite a
Now write down on a piece of paper all the PhysicalDriveX that already exist.

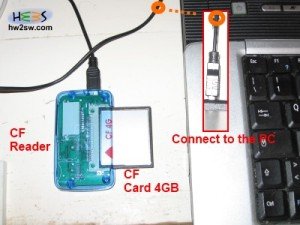
Abort physdiskwrite by pressing CTRL+C, and attach your CF reader with the card loaded using the usb cable.

From the command prompt run the command (always as admin):
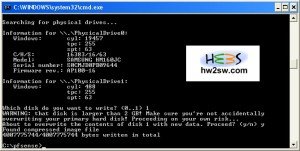
physdiskwrite -u pfSense-2.X.X-RELEASE-4g-i386-nanobsd.img.gz
substituting the " pfSense-2.X.X-RELEASE-4g-i386-nanobsd.img.gz " with your image name.

Compare the output to the former.
You will notice that a new physical drive appeared, which will most likely be your CF media.
When prompted, input the right number (in our case 1) and watch physdiskwrite writing the image to your CF media.
After physdiskwrite exits you can disconnect your CF card.
In the next article we will discuss how to connect our CF card with the pfSense image to the hardware.
We will also see how to configure pfSense.
Stay tuned !