We have seen the first part of installation in the pfSense installation to a CF Card.
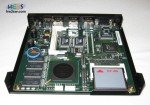
The first step is to insert our CF Card with pfSense into our hardware device.
Find the dedicated slot and insert carefully your CF Card.
We are using a 4G Compact Flash card.
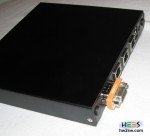
Once inserted the card close your enclosure.
Do not plug the unit into power for the moment.
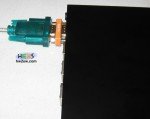
Now connect your null modem to the dedicated RS232 slot.
Use your serial to USB cable and connect the null modem with your PC.
Remember to install the drivers of your serial to USB cable.


Once we have connected the device with our computer we have to use Hyperterminal. Hyperterminal is a WinXP application included that you can use to connect to other computers. Unfortunately the Hyperterminal is not bundled with Win7 . In this case you can download it from depositfiles or zhare.
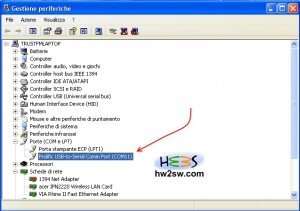
Once installed hyperterminal we have to find out the COM port of our Serial to USB cable.
By hitting "Start" - > "Control panel" -> "System" - > "Device manager" -> "Ports (COM and LPT)" we can clearly find our Serial to USB Cable and the COM port that is using.
Take a look at the photo below :
