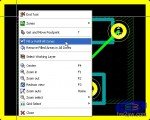
 Last operation belongs to mask completion.
First of all highlight one track: right column, click on second icon (Highlight net) and choose anyone of nets related to side whose empty space you want to fill.
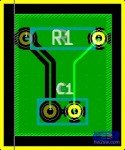
As on second pic, nets and tracks involved will be highlighted.

 Now we delimit the zone to be filled, that is we create the mask to avoid copper removal of internal zone. But which zone?
To create a new one see the icon (Add filled zones) on first pic, click it; choose a starting point around components and inside edges, click; a new setting window appears, Press OK without changes, and begin to trace the zone.
Rectangle you create must end onto starting point, and when you're on double click to close the zone.
You'll get as on second pic.
Note that zone here represented is too small: filling will be partial. So when you make it be aware to well include all components.
Move pointer into the zone and right-click: select "Fill or Refill All Zones" and you'll obtain a totally green zone.
Mask is complete!
Well Done!!
Want to check the result? nothing better than a preview, before print.


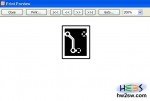 Click the classical print icon to open the PCB settings window. If not chosen then click on Copper Layer -> Back.
Scale is set on 1:1.
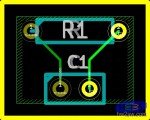
Now click on Preview, to see the result.
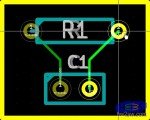
Note that to see preview you need to set a virtual printer, able to print on video (third picture).
Operating systems have usually an internal one; maybe it could be boring to activate it.
[On Windows (XP) doPDF does it for you immediately and transparently (it's just one of its feature).]
Here a video to give a summary of what to do in this second part.
Hope this Kicad panoramic vision could help to take confidence with this software.
We have chosen it for many reason:
- it's free software (by definition only code is free, but usually is zero-cost too);
- it's crossplatform (mainly Linux and Win, but even for Mac);
- has an important support community;
- many libraries and components are available.
Other reference links are this and this.
That's all! see you on next article!
